
How to Create a Lead Magnet Outline with AI
Building a lead magnet from scratch can eat up hours you do not have. You need a clear structure, the right angle, and content that actually gets people to hand over their email address.
This is where knowing how to create a lead magnet outline with AI changes the game. Instead of staring at a blank page, you can turn a rough idea into a ready-to-write outline in a few clicks using WordWriter’s Lead Magnet Outline template.
Here is exactly how it works.
How to Create a Lead Magnet Outline with AI using Wordwriter
Step 1: Sign In and Head to Templates
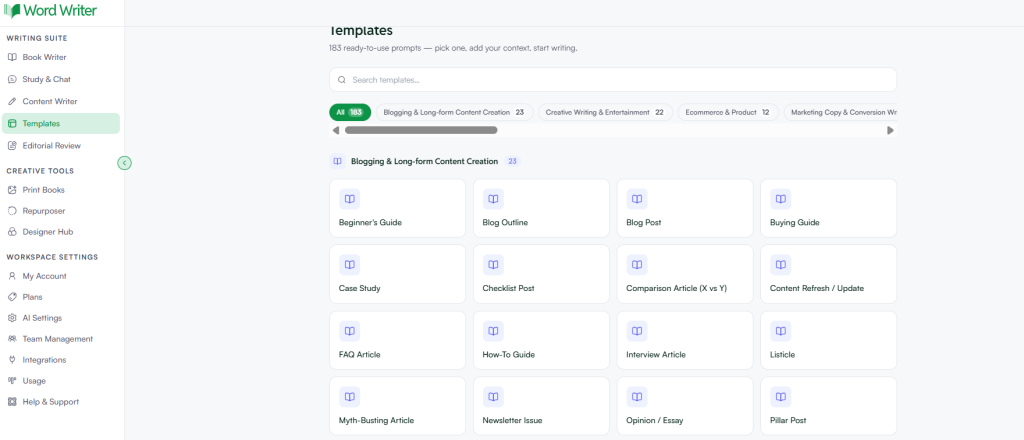
Log into your WordWriter account and go to the Templates section from your dashboard. This is where all of WordWriter’s content templates live, from blog outlines to landing page copy.
Step 2: Find the Lead Magnet Outline Template
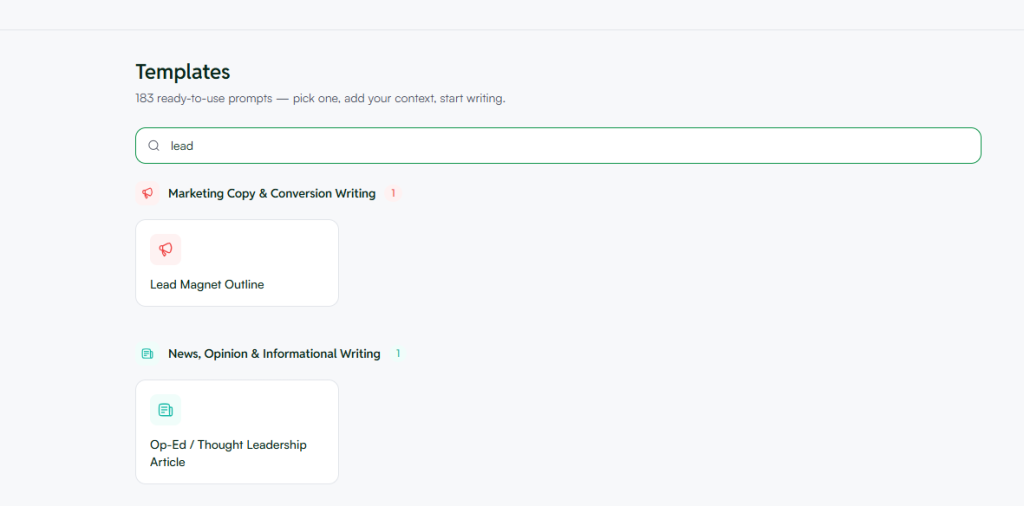
You can either browse through the template library or use the search bar and type “Lead Magnet Outline.” Once you spot it, click to open it. You will see a clean form ready for your inputs.
Step 3: Add Your Topic
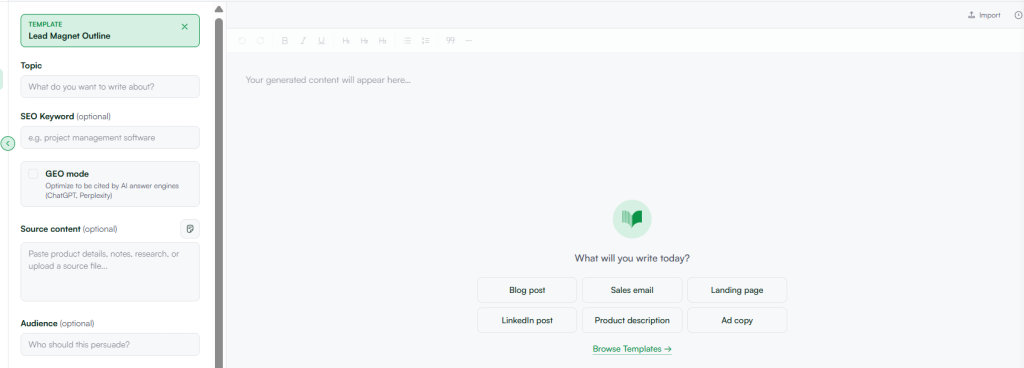
Start with the Topic field. This is the core subject of your lead magnet. Be specific here. Instead of “marketing tips,” try something like “email marketing tips for small ecommerce brands.” The more focused your topic, the sharper your outline will be.
Step 4: Add Your SEO Keyword (Optional)
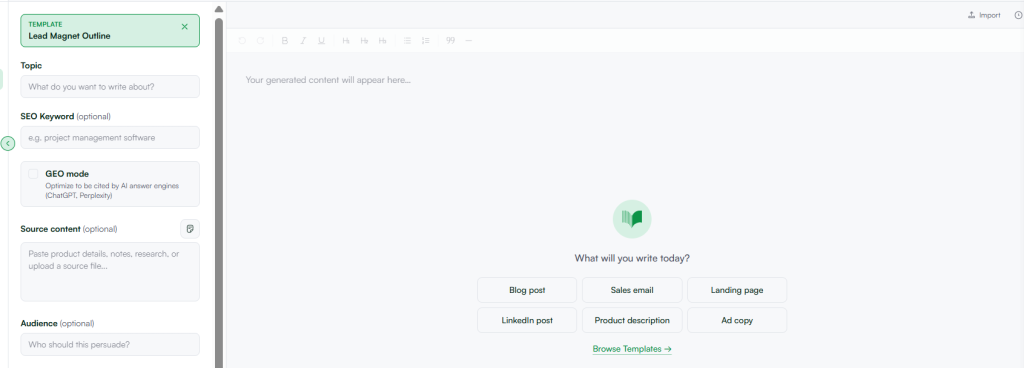
If your lead magnet will also live on a landing page or blog post, add your target SEO keyword. For example, “project management software.” This helps WordWriter shape the outline with search intent in mind, so your lead magnet supports your SEO goals too.
There is also a GEO mode toggle here. Turn this on if you want your content optimized to get cited by AI answer engines like ChatGPT and Perplexity, not just traditional search engines.
Step 5: Paste Your Source Content (Optional)
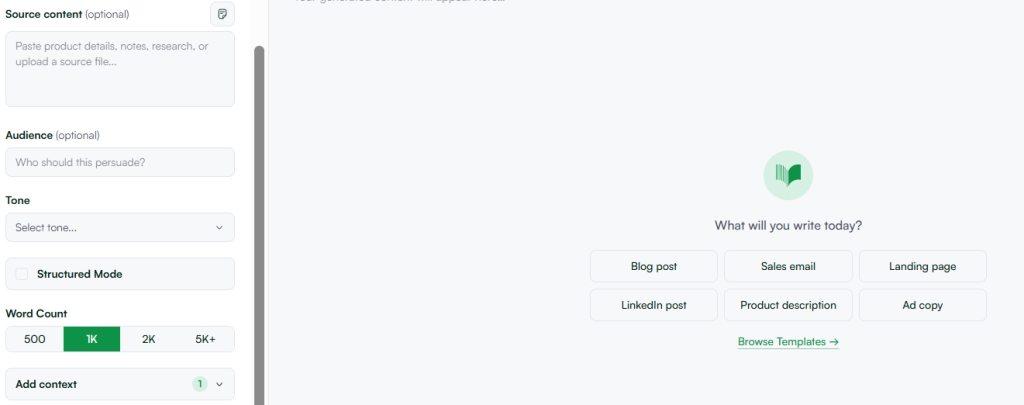
If you already have product details, research notes, or files related to your topic, paste them into the Source Content box. You can also upload a source file directly. This gives the AI real context to work with, so the outline reflects your actual offer instead of generic filler.
Step 6: Define Your Audience
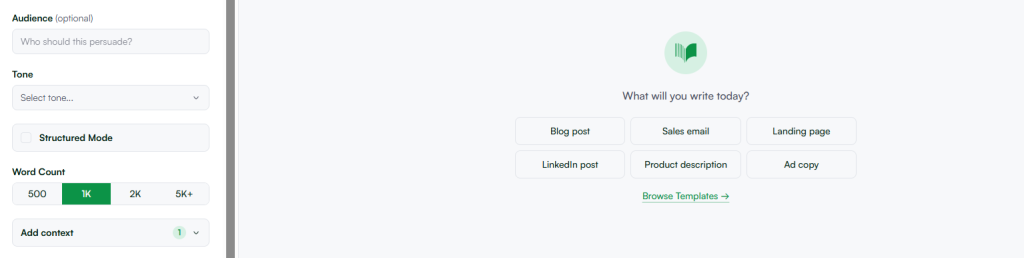
Fill in the Audience field to tell WordWriter exactly who this lead magnet needs to persuade. Are you writing for busy founders, HR managers, or freelance designers? Naming your audience helps the AI match tone, examples, and pain points to the right reader.
Step 7: Select a Tone
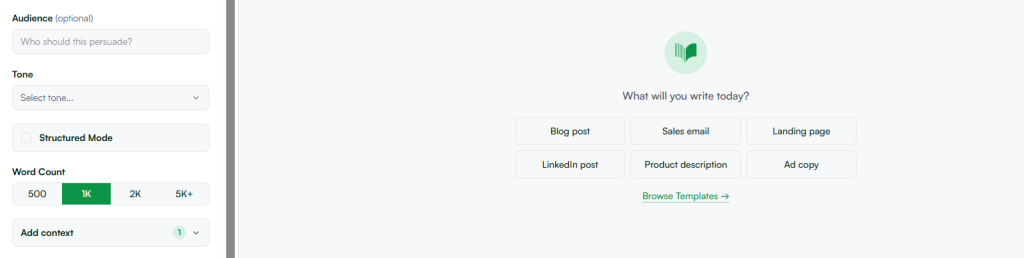
Choose the tone that fits your brand voice from the dropdown menu. Whether that is professional, friendly, authoritative, or conversational, this keeps your lead magnet consistent with the rest of your content.
Step 8: Toggle Structured Mode If Needed
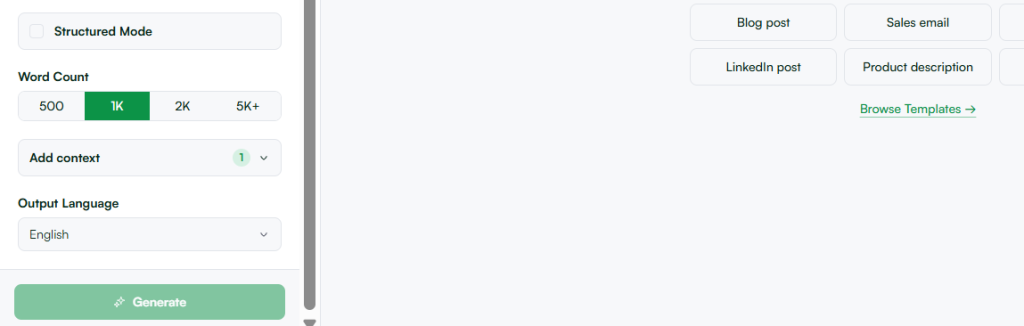
Structured Mode is available if you want a more rigid, formatted outline with clearly separated sections. Leave it off if you prefer a more flexible draft you can rearrange later.
Step 9: Click Generate
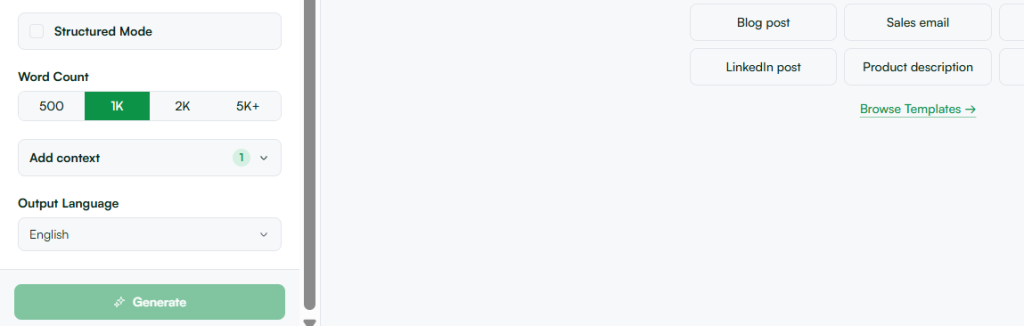
Once everything is filled in, hit the Generate button. WordWriter will produce a complete lead magnet outline built from your topic, keyword, audience, tone, and any source content you added.
From here, you can review the outline, tweak sections, and move straight into drafting the full lead magnet without starting from scratch.
Why This Matters
A strong outline is the difference between a lead magnet that gets downloaded once and forgotten, and one that keeps converting for months. Using AI to build that outline means you spend less time structuring and more time refining the parts that actually persuade your audience to opt in.
If you already have a topic in mind, open WordWriter, search for the Lead Magnet Outline template, and give it a try. You will have a solid draft structure ready before your coffee gets cold.
